Embroidery is a very artistic way to express one’s true creativity. It is a very broad term. It encompasses the use of several techniques, forms, and fabric types.
One of the major problems that beginners face is the preparation of an embroidery kit. While it is true that certain embroidery techniques require specific tools and materials, they are readily available in online stores or at local embroidery supplies stores. In fact, Czech glass beads, fire polished beads and Amos beads can also be now found online.
What are some of the essential tools required for your embroidery kit?
A basic embroidery kit will allow you to work with almost any kind of fabric type, design, or stitch pattern. Given below are certain essential tools that you need to prepare your embroidery kit: –
- Embroidery Hoop: – These are available in a variety of materials such as wood, plastic, and metal. The wooden version is one of the most widely used hoops for embroidery. Make sure to choose a hoop that is appropriate for your project.
- Embroidery Needles: – Embroidery needles are sharp and work best for tightly woven fabrics. They have larger eyes and sharper tips and shouldn’t be confused with sewing needles. You can choose to buy a good set of embroidery needles to work with different fabrics.
- Canvas or Fabric: – Canvas is available in a variety of materials such as cotton, linen, felt or fleece. The fabric should be tightly woven and suitable for embroidery.
- A pair of scissors: – An embroidery kit is incomplete without a sharp pair of scissors. You can choose to invest in embroidery scissors which are small shaped and sharp. This will allow you to cut more accurately.
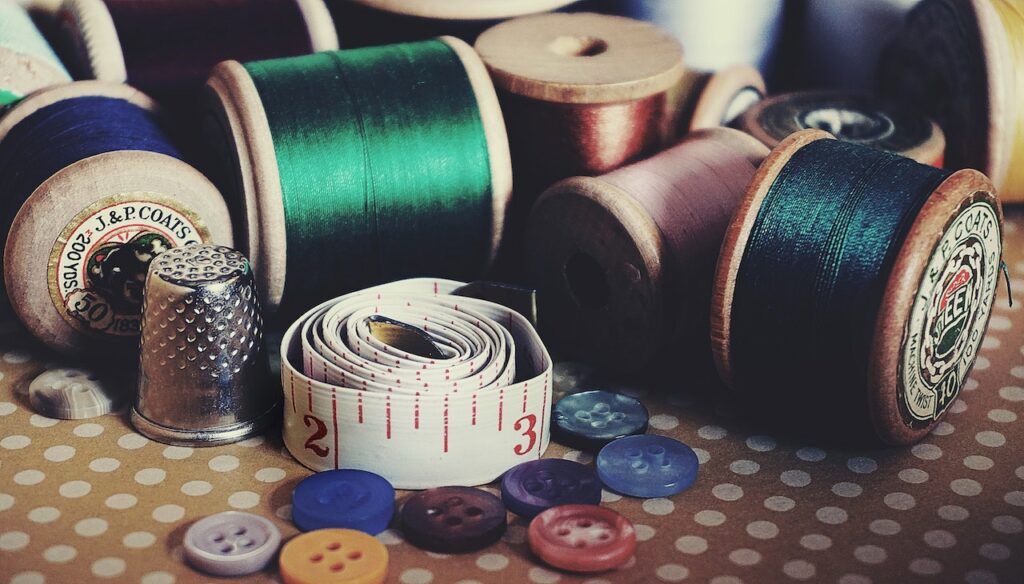
- Thimble: – A thimble prevents injuries caused to your finger by the needlepoint and eye. Embroidery requires detailed handwork therefore securing injuries is inevitable. Therefore, by using a thimble you will be able to protect your fingers from injuries.
- Light sources: – You can choose a well-lit area for embroidery, but sometimes certain projects require additional light sources. Headbands and neck attachments for light are a good choice. You can also choose a crafting light. It is similar to a lamp, but the light source is stronger. It is portable and can be set up on any flat surface.
- Floss: -Floss is used to highlight specific areas of your embroidery. They are quite often compared to embroidery threads. The difference can be seen in quantity and its arrangement. Each strand comprises six more threads. Upon unraveling they can then be used as a thread and as floss.
- Organizers: – Floss and threads can be difficult to organize. This is why you need holders and organizers. A holder prevents your thread or floss from getting tangled. You can choose to buy a premade holder from your local embroidery supply store or choose to make one from cardboard or foam.
Therefore, with the help of the above-mentioned tools, you will be able to build up a basic embroidery kit and get started on your journey!